Document Export
Your script is done? Then it’s time to export!
How to Export a Document
You can export a document either from the project overview or directly within the editor.
- Open the context menu.
- Select the “Export document…” option.
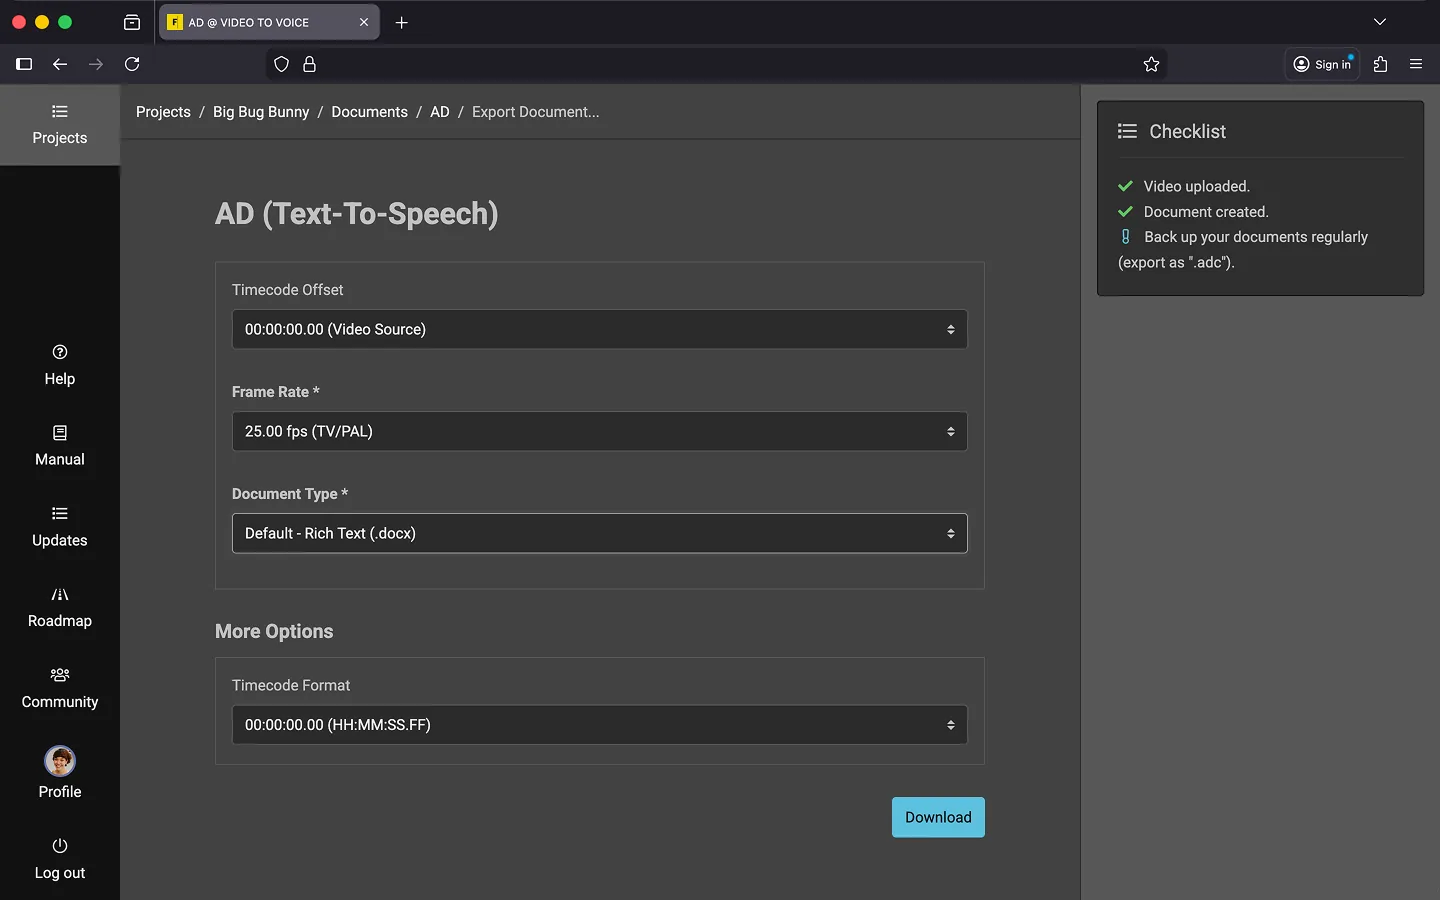
- Optional: Adjust the Timecode Offset if needed.
- Optional: Modify the Frame Rate (e.g., round to 24fps instead of 25fps).
- Choose a Document Type.
- Optional (when exporting as .docx): Adjust the Timecode Format.
- Click Download.
Your browser will now download the document in your chosen format.
Available Formats
Frazier supports the following text formats and document types for export:
- SubRip (.srt)
- A widely used subtitle format that includes the text along with start and end timecodes.
- WebVTT (.vtt)
- Similar to SubRip but primarily used for internet videos to transfer subtitles and display them in video players.
- CSV (.csv)
- Exports all information in a tabular format. Perfect for further processing in spreadsheet applications such as Microsoft Excel, Apple Numbers, or LibreOffice Calc. Note that this format does not support text formatting.
- Excel (.xlsx)
- All information in an Excel spreadsheet.
- XML (.xml, .ttml, .exb)
- Various XML-based formats are available for exporting. These are often used for exchanging data with other programs. While they are less common, they may be requested by clients for specific workflows.
- Open Office XML / Word (.docx)
- Exports your manuscript, including timecodes, dialogue/instructions, and descriptions, in a “classic” manuscript format. This is ideal for use in recording studios or for voice recording sessions. Compatible with Microsoft Word, Apple Pages, LibreOffice Write, and similar programs.
- Extended audio description (.edl)
- Export an edit decision list (EDL) in the standard CMX3600 format.
- Backup (.adc)
- Frazier’s proprietary document format (.adc). Use this format to create a full backup of your work. This is the only format that retains all additional information, such as voices, comments, tags, and other metadata.
Export a Word File
You can choose between two templates:
- Default - Rich Text (.docx)
- Default - Table (.docx)
After selecting a document type, you can choose the timecode format:
- 00:00:00.00 (HH:MM:SS.FF)
- 00:00:00:00 (HH:MM:SS:FF)
- 00:00:00 (HH:MM:SS)
- 00:00 (MM:SS)
Optionally, if you select a format without frames, you can round the frames up or down.
- 00:00:00 (HH:MM:SS) = 00:00:01.13 -> 00:00:02
- 00:00 (MM:SS) = 00:00:01.13 -> 00:02
*Tip: You can create custom Word templates to tailor the appearance and content of exported manuscripts. For more details, refer to the chapter on DOCX Templates.
Optional: Burn Manuscript into Video
Optionally, you can burn your descriptions into the video as “subtitles”. You can start the process from both the project overview and directly from the editor.
- Open the context menu.
- Select the option “Burn in Subtitles…”.
- Select a video.
- Select the resolution.
- Original
- 480p
- 720p
- 1080p
- Choose whether timecodes should be burned in.
- Click “Start”.
Note: You must enable the plugin in your Plugin Settings to use it.
Last Update: 2026/05/06