Local Mode
“Local Mode” means you don’t need to upload the video to our server. Instead, the video plays directly from your computer’s hard drive.
When Should You Use “Local Mode”?
- You may not be allowed to upload the video to a server due to security restrictions.
- Occasionally, you might experience a weak internet connection. 😉
Requirements
To play a video directly from your hard drive, there are a few requirements to keep in mind:
- The video must be in .mp4 format (H.264/AAC1) so that your browser can play it without issues. While other formats may work depending on the browser, .mp4 is the most reliable. F
- If multiple people are working on the project, everyone needs to have the video on their computer. How you share the video among team members is up to you.
Tip: Also, check out our guidelines on suitable video formats and Handbrakein the previous chapter.
Activate “Local Mode”
Normally, when you create a project, you’ll be prompted to select the “Media Source”. If you aren’t prompted, this option is likely disabled in your profile.
- Open your profile.
- Scroll to the “Authoring” section and click “Configure Editor”.
- Scroll down to the “Video Source” option. Choose either “Always Ask” or “Local Storage”.
- Click “Update”.
We recommend selecting “Always Ask” so you can decide on a project-by-project basis whether to use a local video or one from the server. If you prefer to always work locally, you can select “Local Storage” to avoid being asked in the future.
Tip: If you choose “Always Ask”, you can switch to Local Mode later. For example, if you’re on a train with a weak internet connection, simply switch to Local Mode and continue working. Once you’re back on a stronger connection, you can revert to using the server video source.
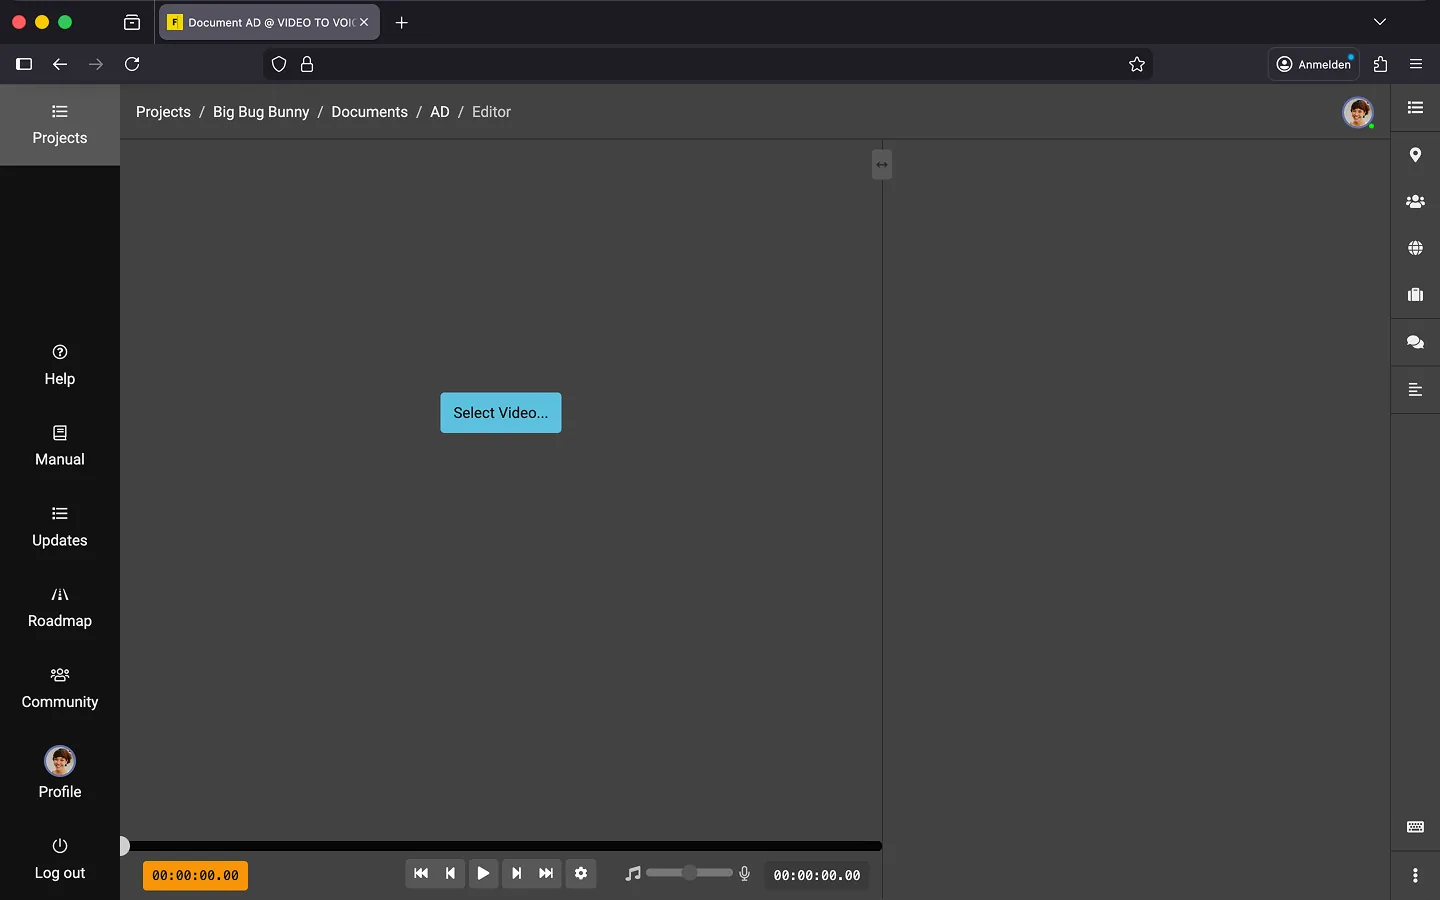
Selecting a Video
You must first create a new document. Only then can you select a video directly within the editor.
Project Initialization
Even in Local Mode, the video must be analyzed first. The system collects data about scene changes and the audio track, which is then used to create the timeline in the editor.
Since the server can’t analyze the film in Local Mode, your browser will handle this task. The first time you open a video in the editor, you’ll be asked whether you’d like to start the initialization.
If you agree, the video will play once without sound. Please keep the browser window open during this time! The process takes about 3x real time (depending on your computer’s speed). For a 60-minute film, expect around 20 minutes of initialization time.
Initialization is a one-time process. The next time you open the video, your browser will load the data from the cache.
Tip: If you don’t need the visualization of the audio track, you can skip the initialization. This will save you time. The visualization of your audio descriptions (the blue bars) will still be shown, but the rest of the timeline will remain black..
Replace Video
If you receive a new version of the video, simply select the new video in the editor. The editor will recognize that it’s a new version and ask whether to repeat the initialization process.
Tip: During re-initialization, the old data is discarded. If you want to keep access to the original version of the video, we recommend making a copy of the project first. This way, you can switch between the old and new versions without needing to re-initialize every time.
Notes on Screen Readers
We don’t yet have experience using Local Mode with screen readers, as this combination hasn’t been tested yet. We recommend reaching out to us in advance so we can test how well the initialization works with screen readers and identify any areas for improvement.
Last Update: 2026/01/23